Thonnyのインストール
Pythonビギナーズ用のIDE、Thonnyをインストールします。
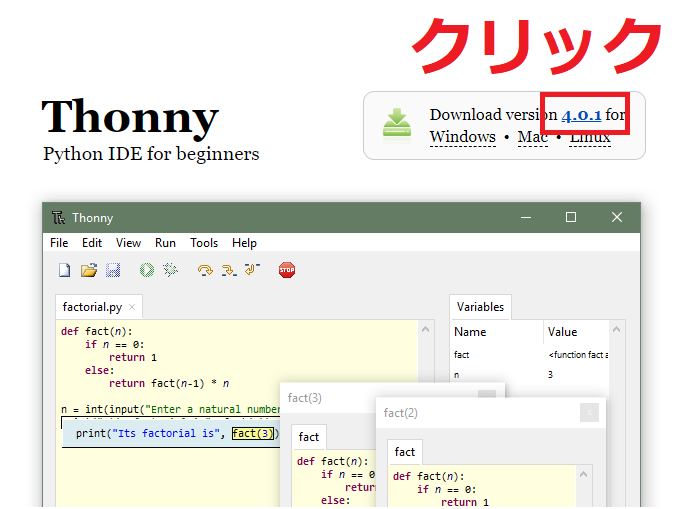
1)ダウンロードサイトを開く
2)右上のリンクをクリック
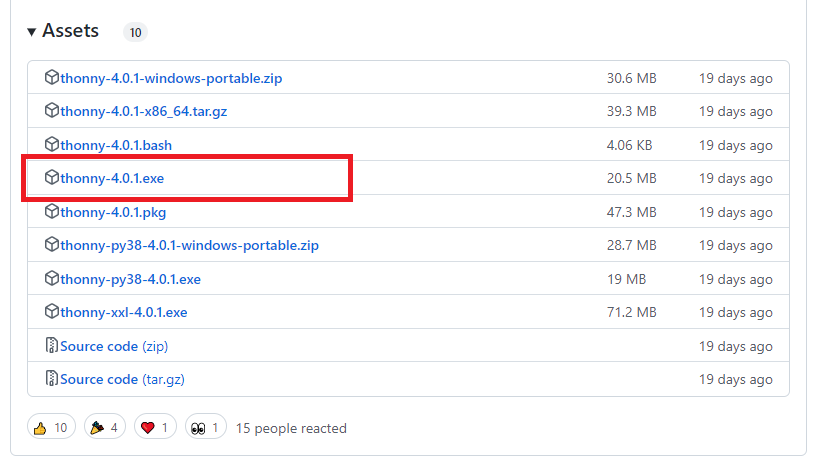
3)下へスクロールし、thonny-xx.exeをクリックしダウンロード
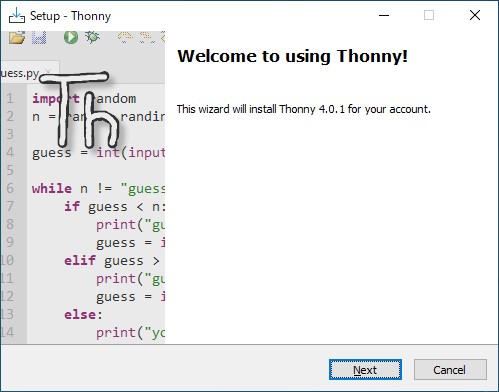
4)ダウンロードしたexeを起動します。
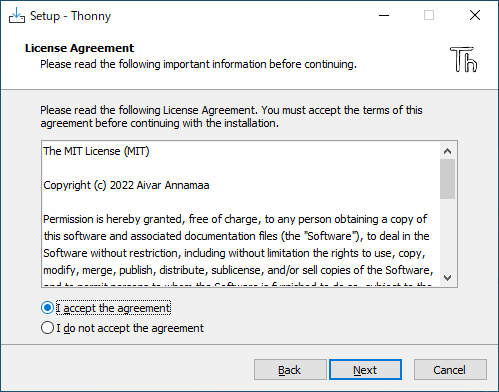
5)そのままでNextをクリック
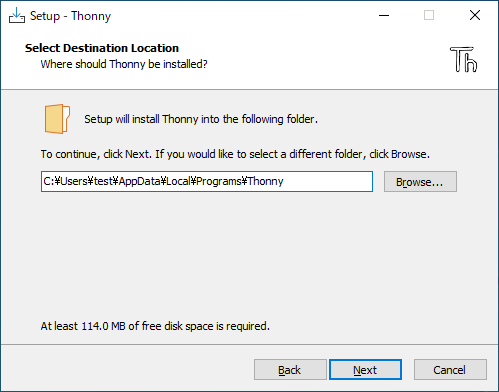
6)そのままでNextをクリック
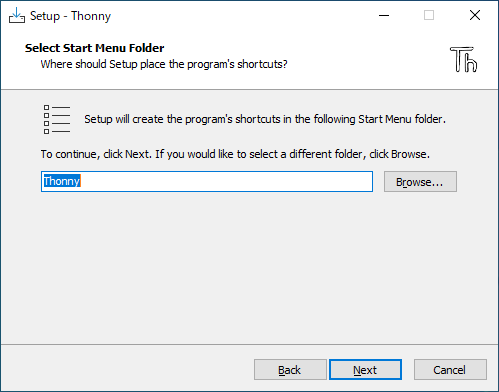
7)そのままでNextをクリック
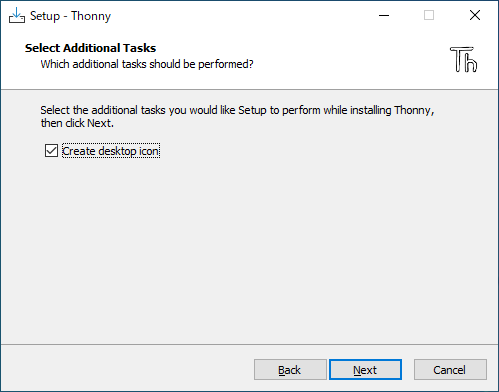
8)デスクトップにアイコンを作成したい場合は、「Create desktop icon」にチェックをいれて、Nextをクリック。不要の場合はそのままNext。
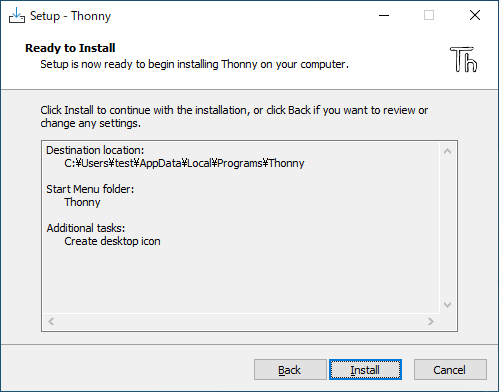
9)Installをクリック
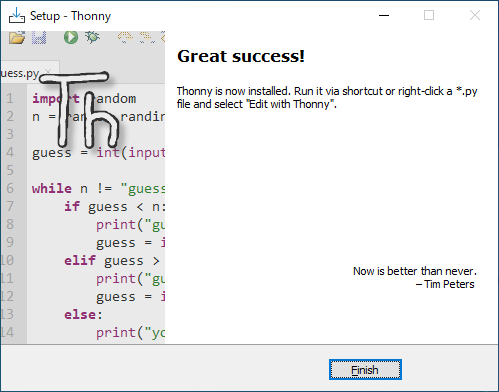
10)Finishで終了
11)Thonnyを起動します
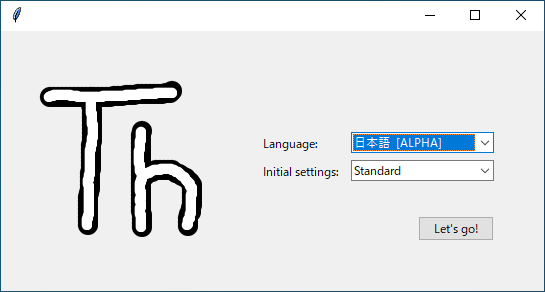
12)言語を日本語に変更し、「Let’s go!」
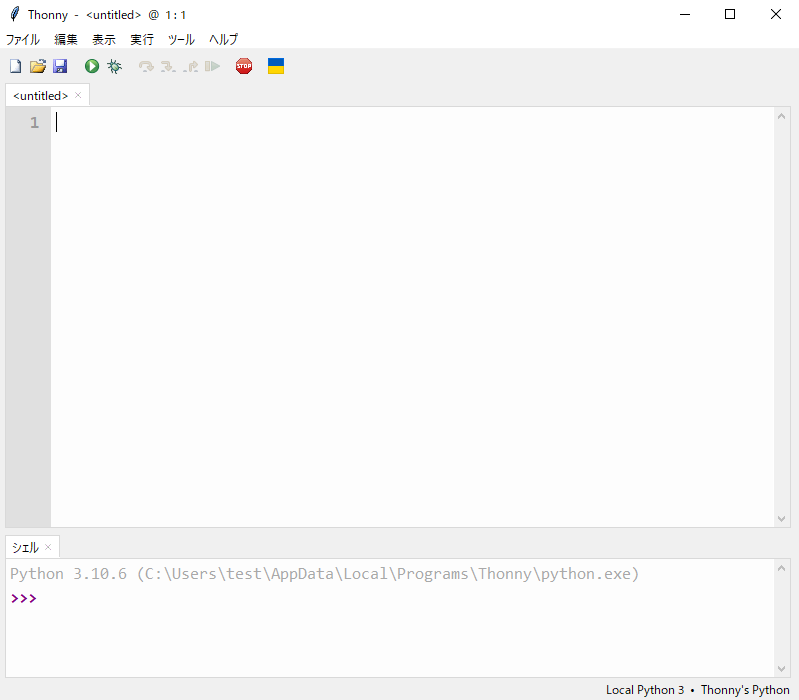
13)起動すればOKです
※追記
インストールされているライブラリでも、Thonnyで実行すると「ない」と言われたりする件もあり、私は使わなくなりました。ビギナーズ用とうたわれてることもあり、初歩的な実行は問題ありませんでしたが、少し発展することをやりたい場合つまづく要因となりそうと感じました。ただ、動作の軽さは魅力。